I always thought I would be that Pinterest mom, but it turns out I’m more of an Amazon Prime type of mom.
Don’t get me wrong, arts and crafts can be fun, but as a single mom I always juggle with stretching myself too thin. Sometimes, it’s just easier to get on the floor and play dinosaurs than to hunt for art supplies among the house- not to mention searching the web for ideas that are age appropriate and doesn’t call for a trip to the store.
I know I’m not the only one who wants to provide my kiddos with fun childhood experiences with limited time. That’s why I found this super simple Easter craft idea that only requires what most of us have around the house!
The best part?
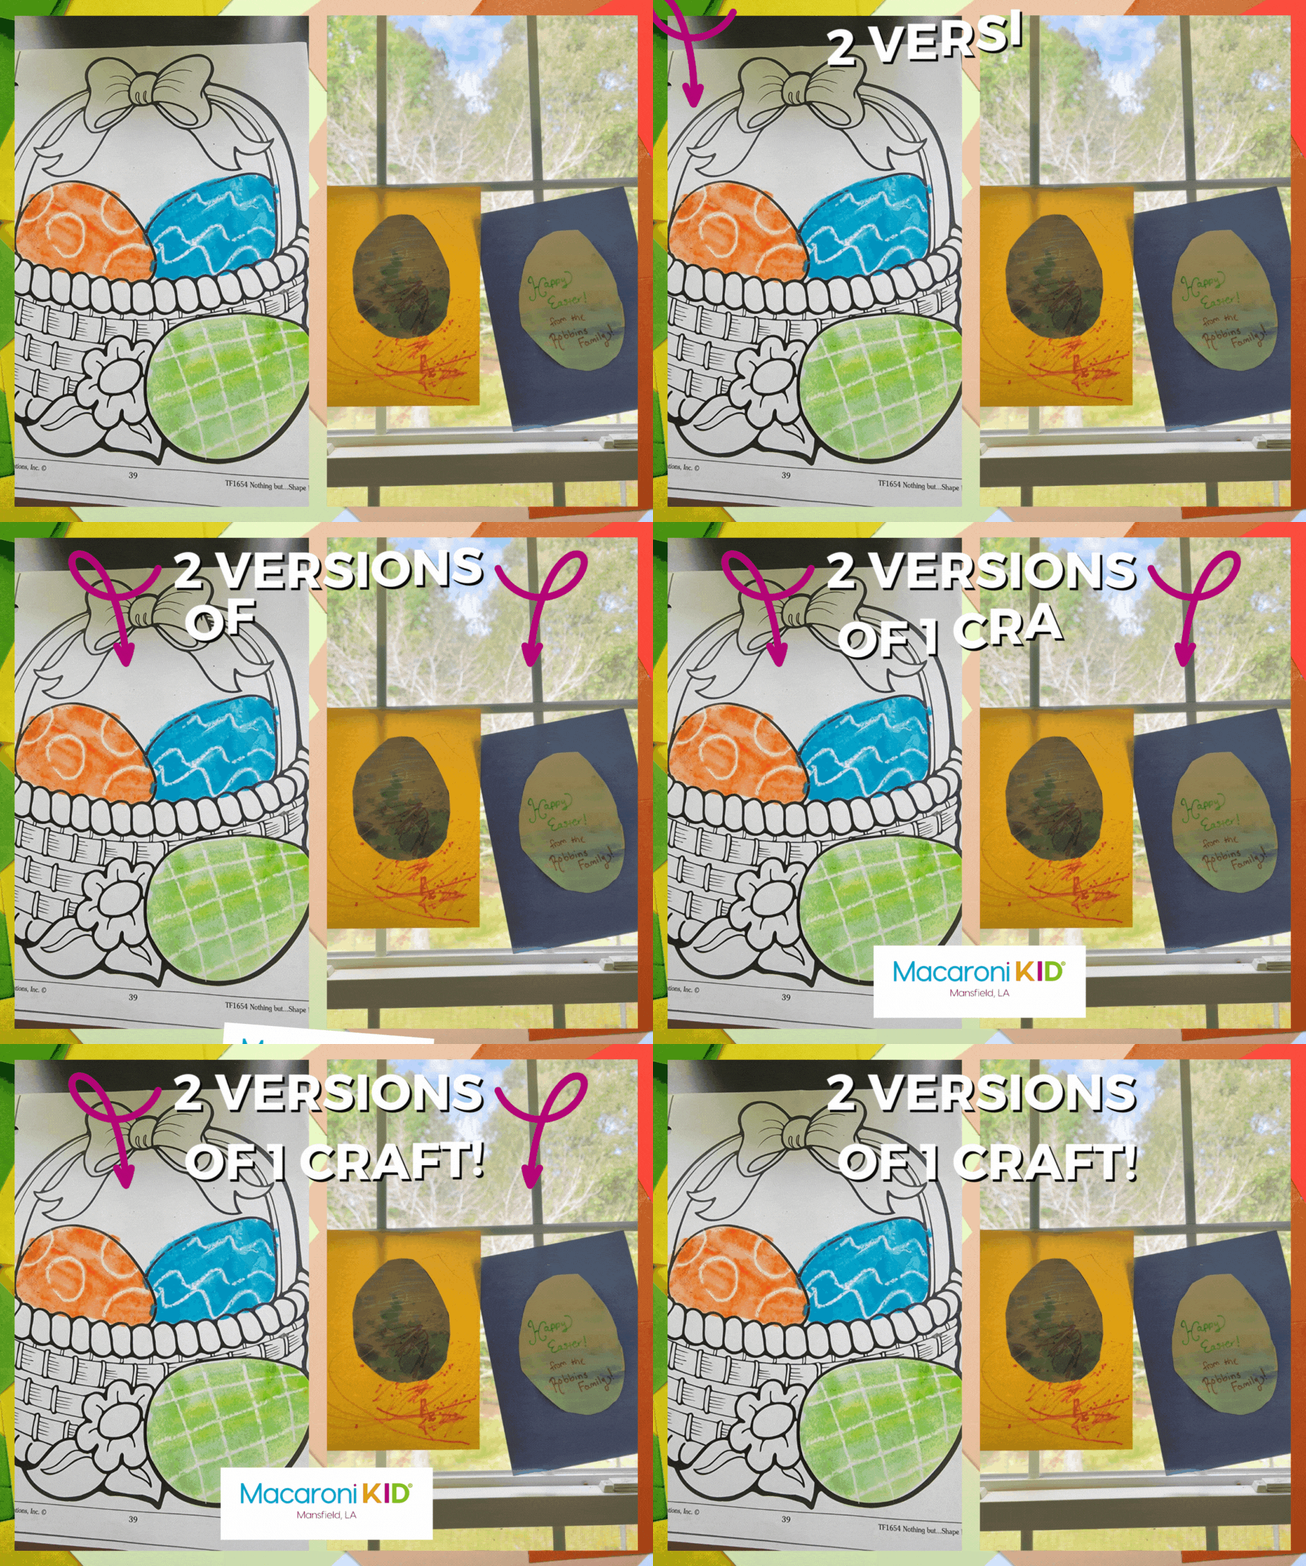
I'm going to share how you can do two versions of the same craft!
Whether you plan out this craft for Easter morning or throw it together last minute between soccer practice and dinner, your kids are sure to enjoy this super simple craft!
 |
If you need to run out to buy any supplies, they can all be found for an affordable price at Dollar Tree!
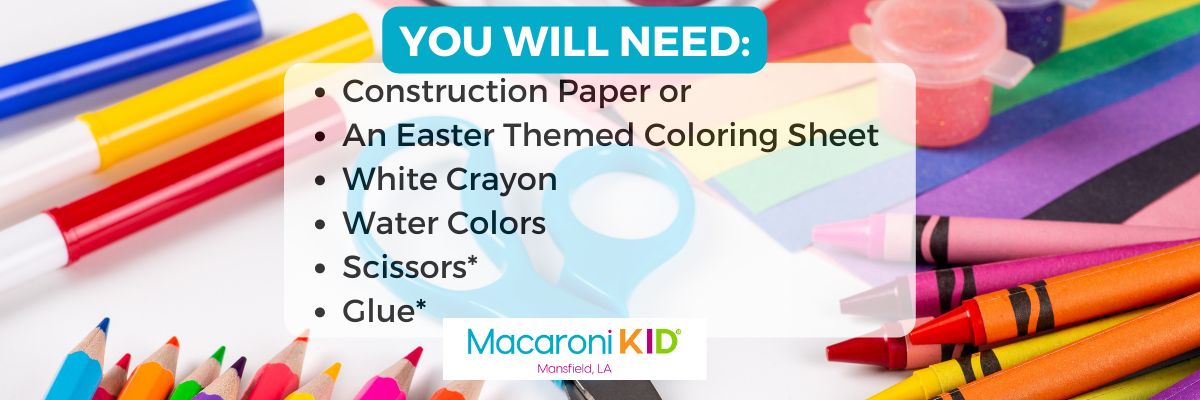 Source: Canva | The asterisk means the item is optional! |
Instructions:
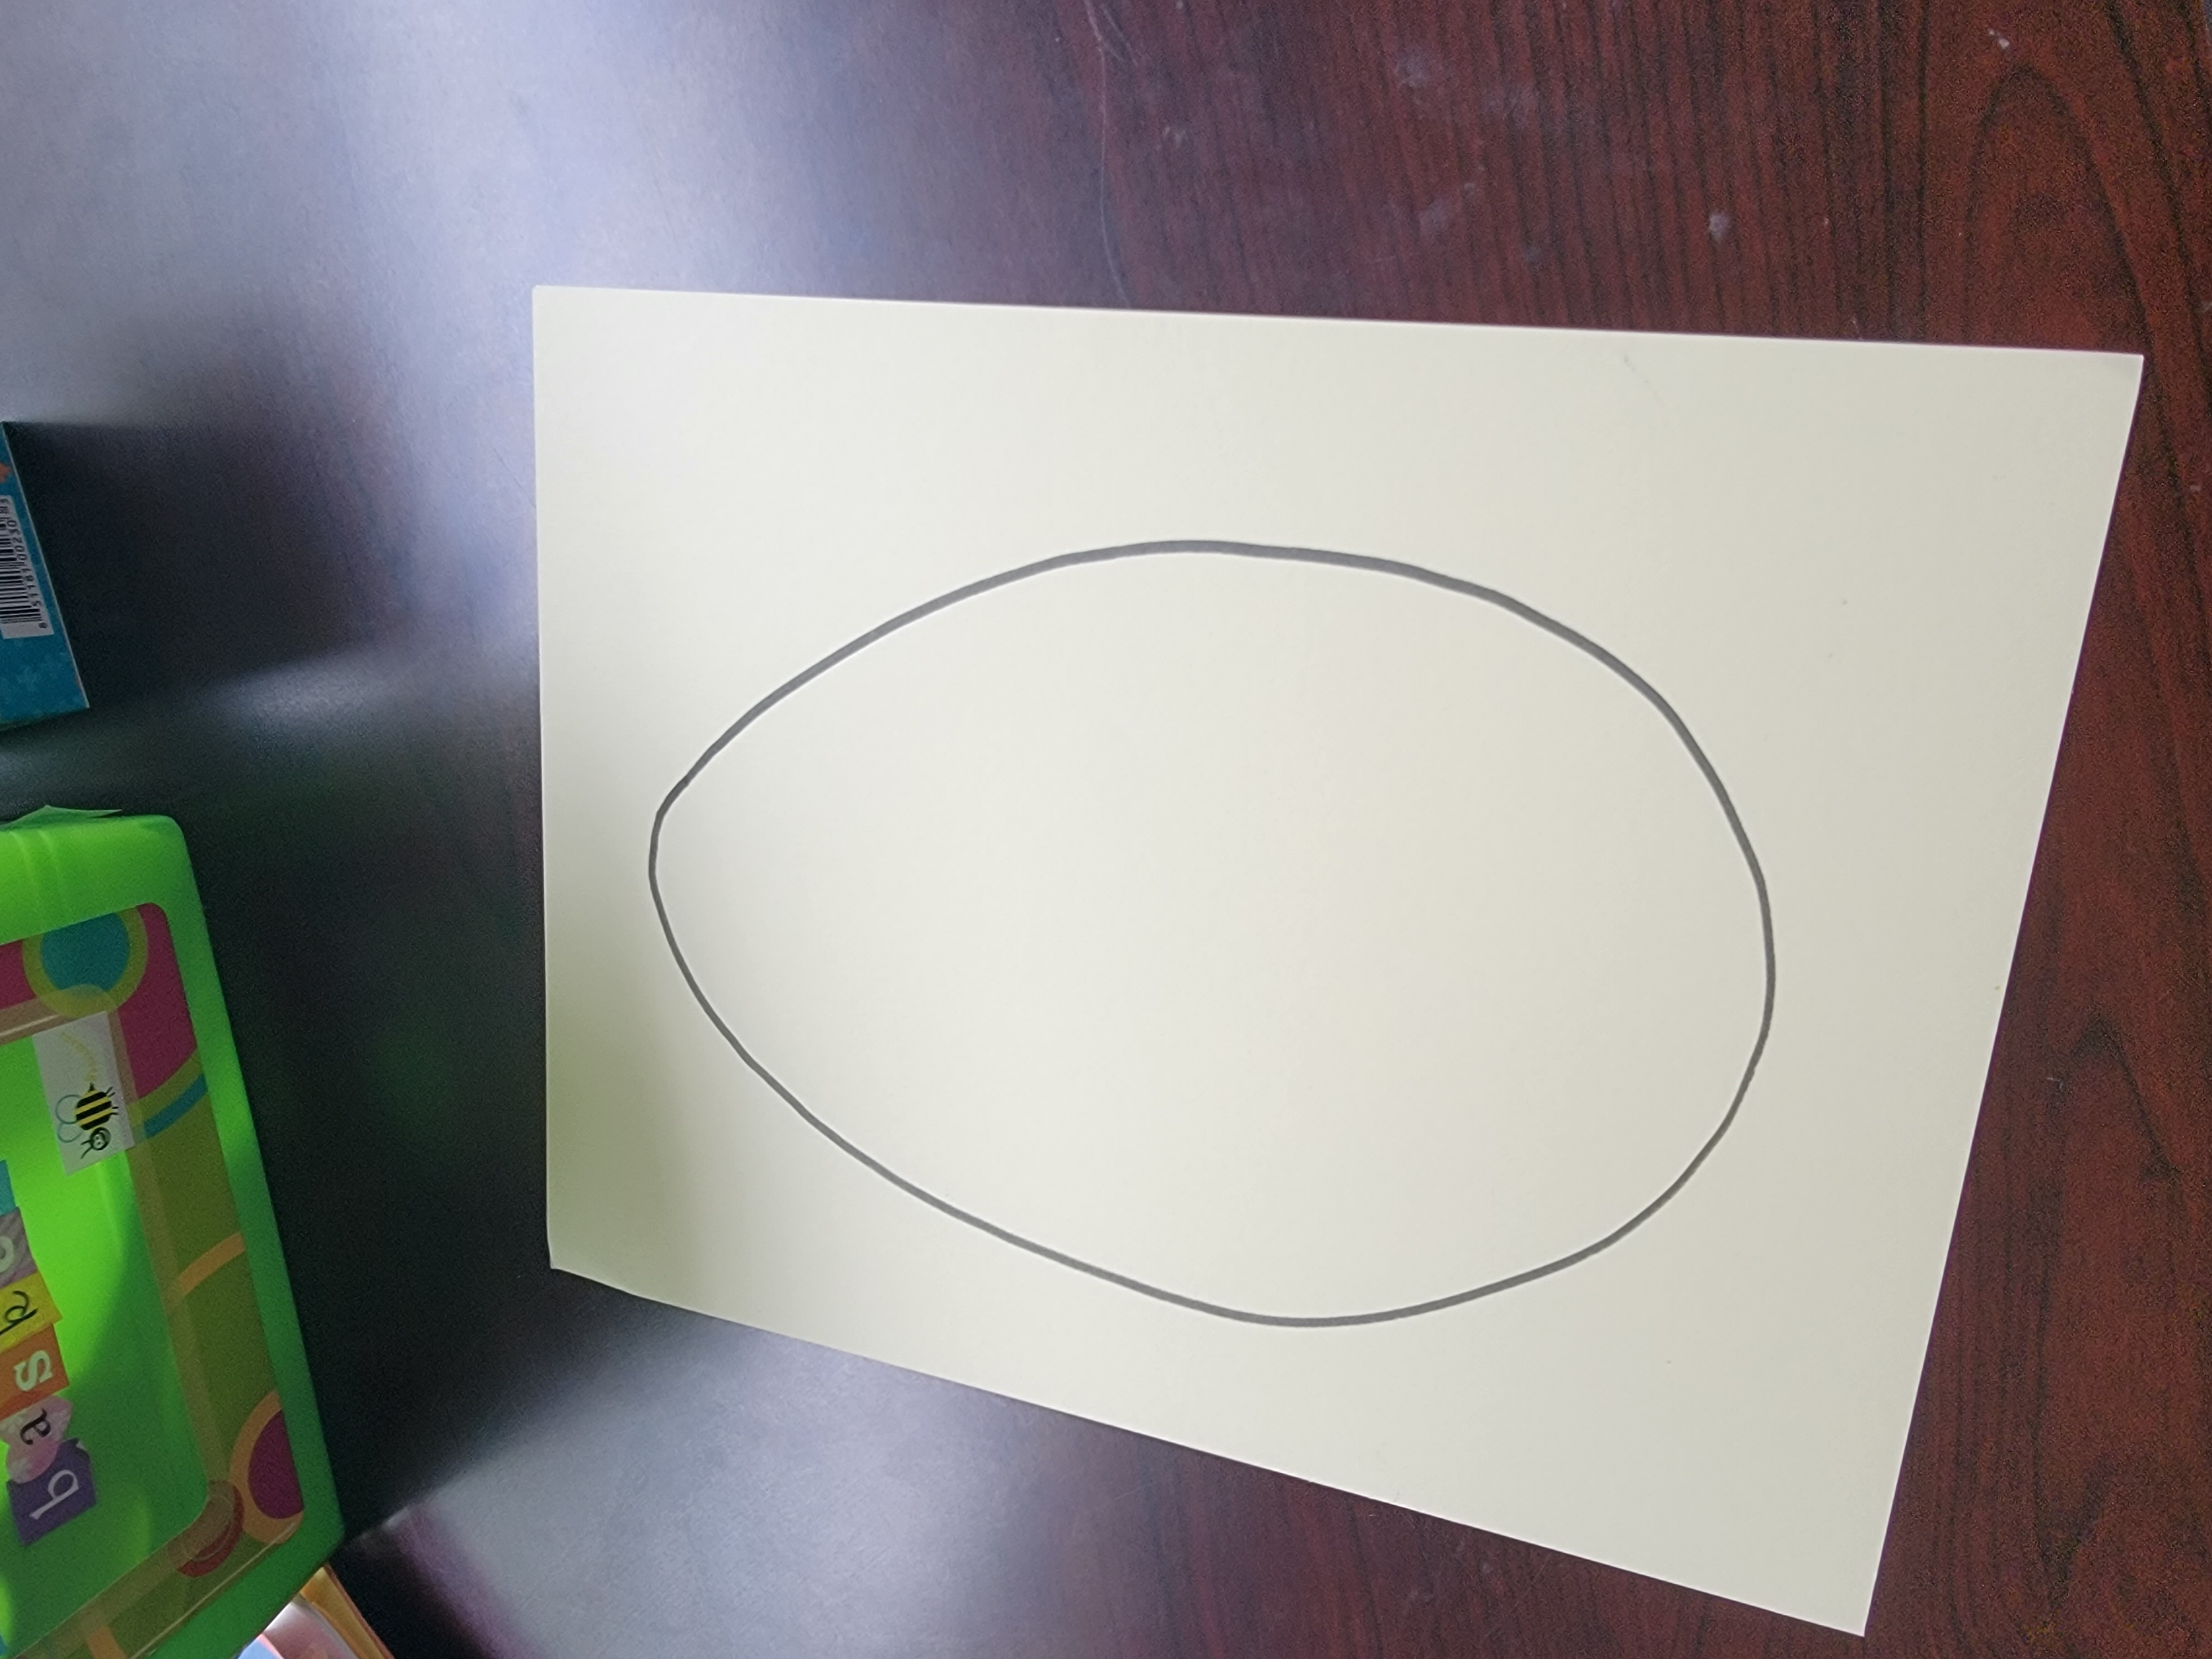
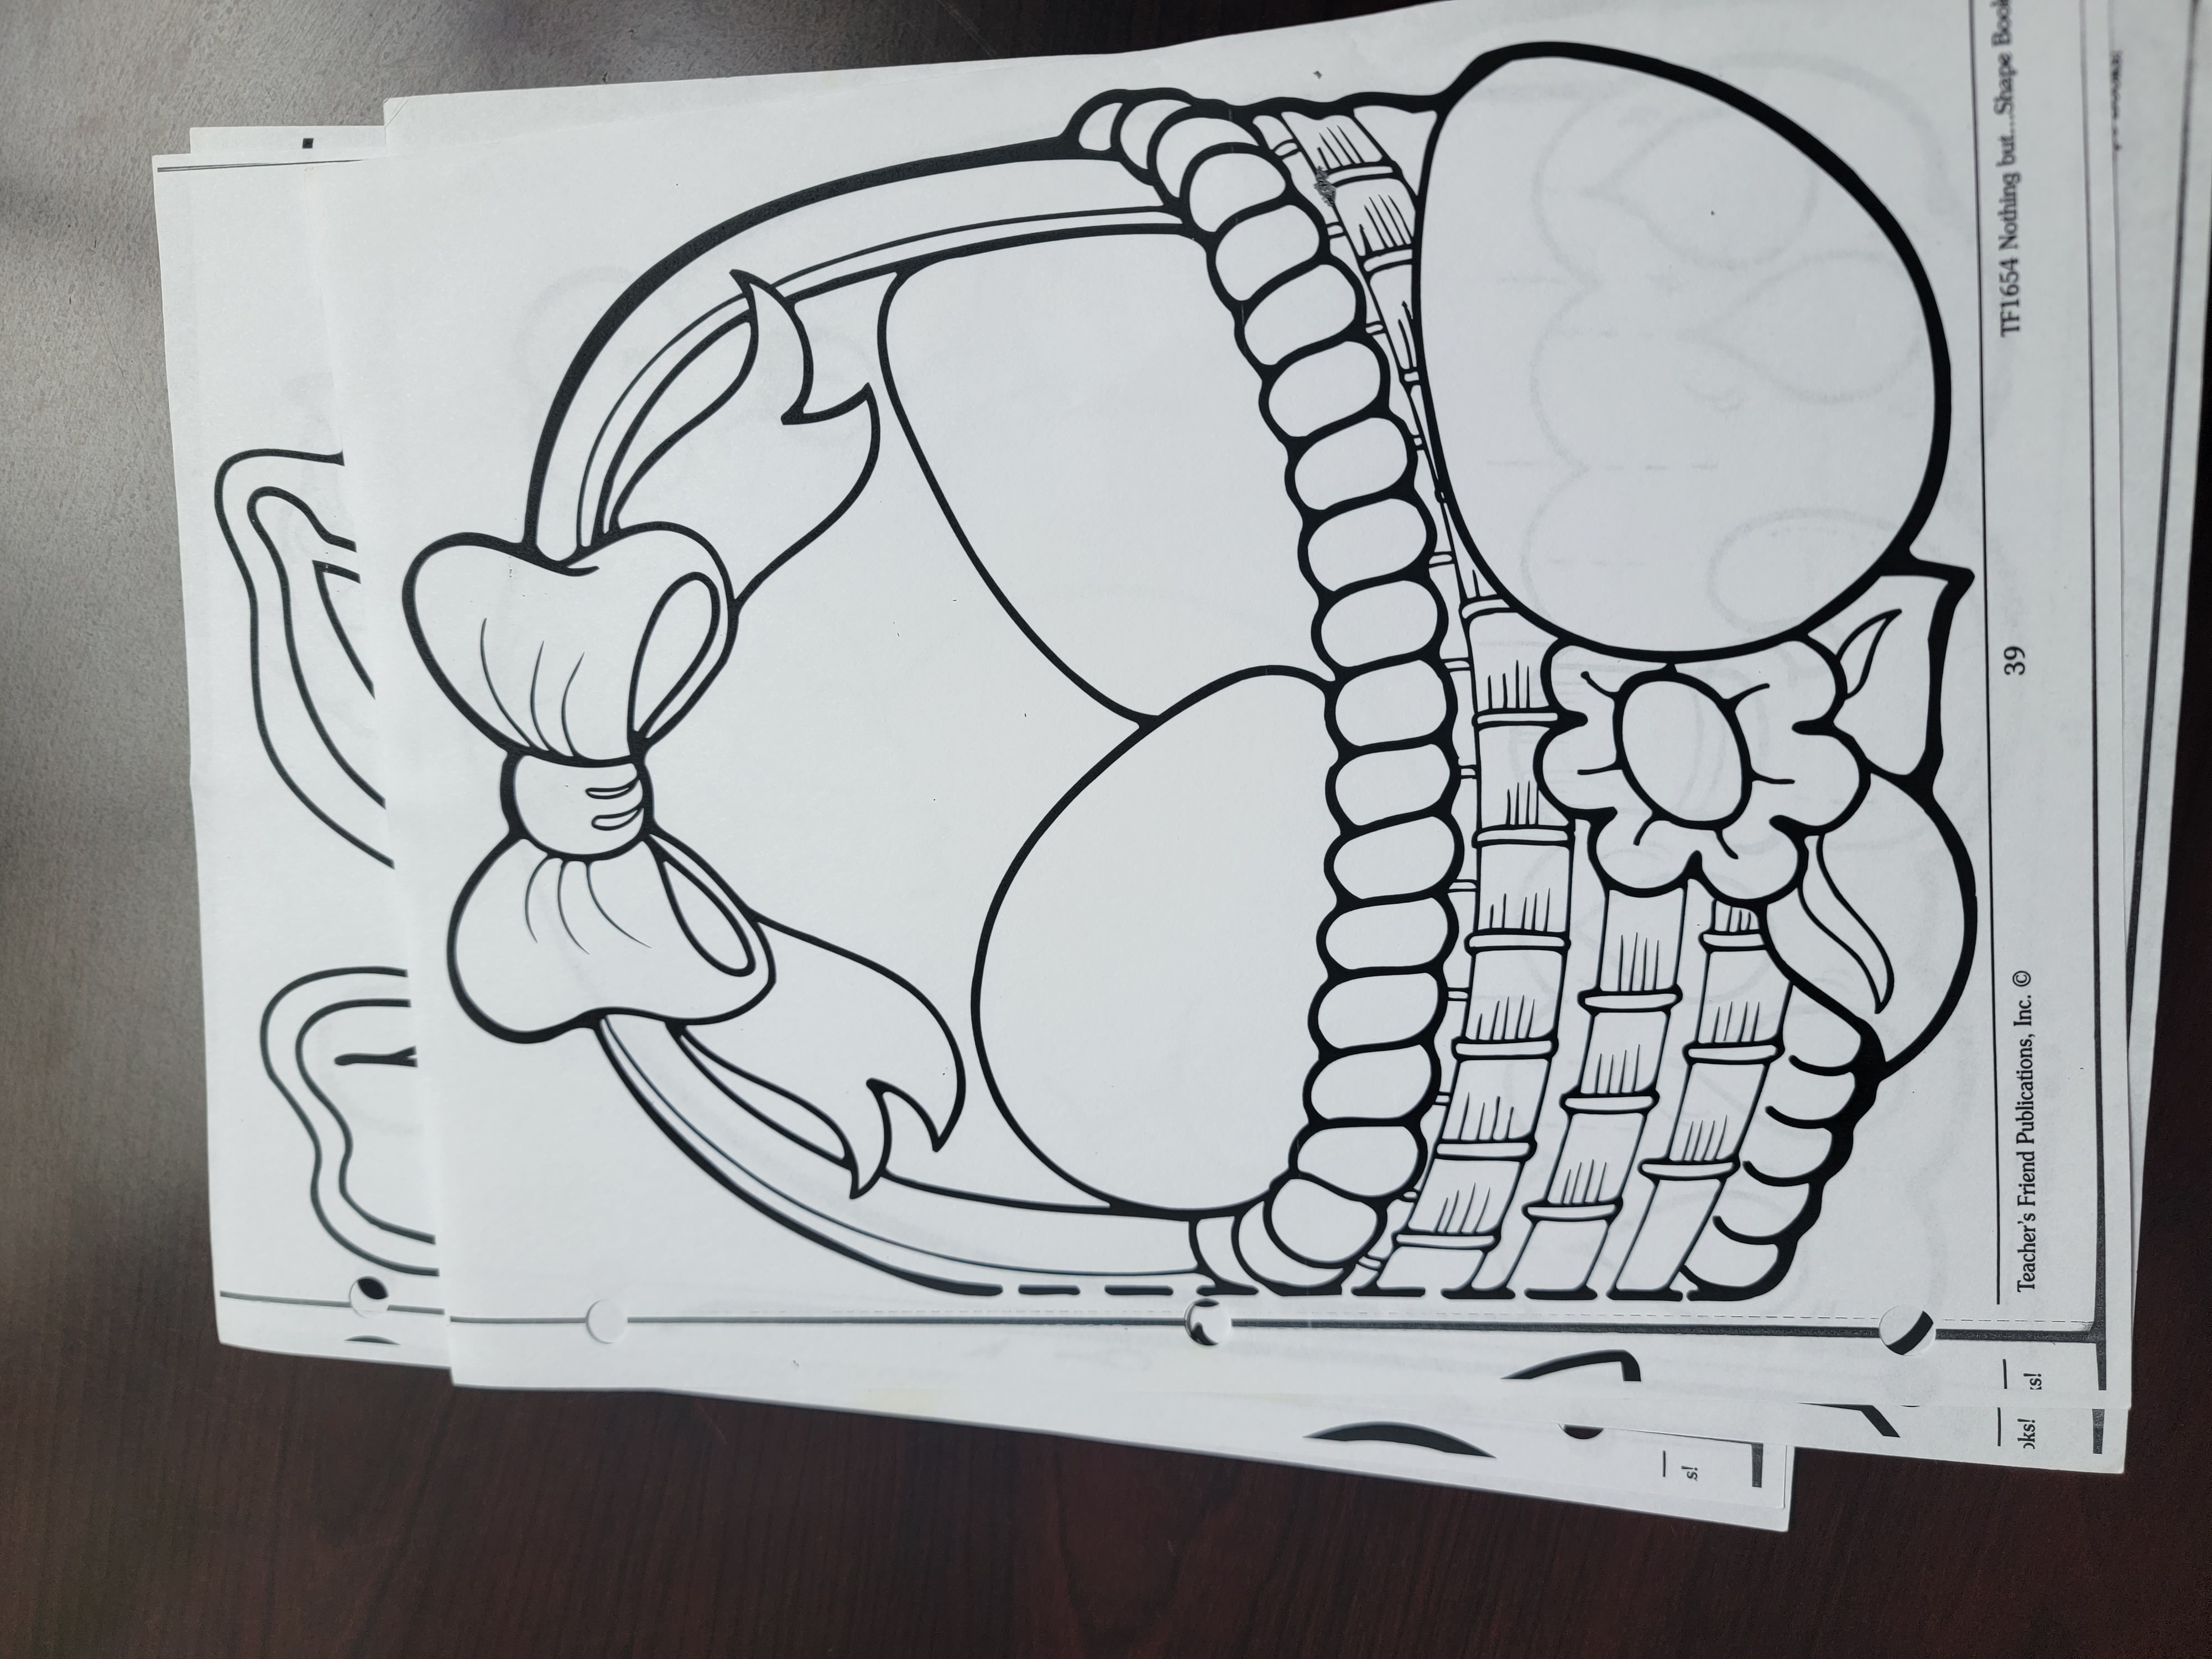
- Take a piece of light (preferably white) construction paper and draw out the shape of a large egg. We used a black marker for the tracing. If you are using a coloring sheet, then go ahead and cut the paper out so the water colors won't bleed through to the other pages.
- Using a white crayon, go ahead and design your eggs! Draw until your heart is content!
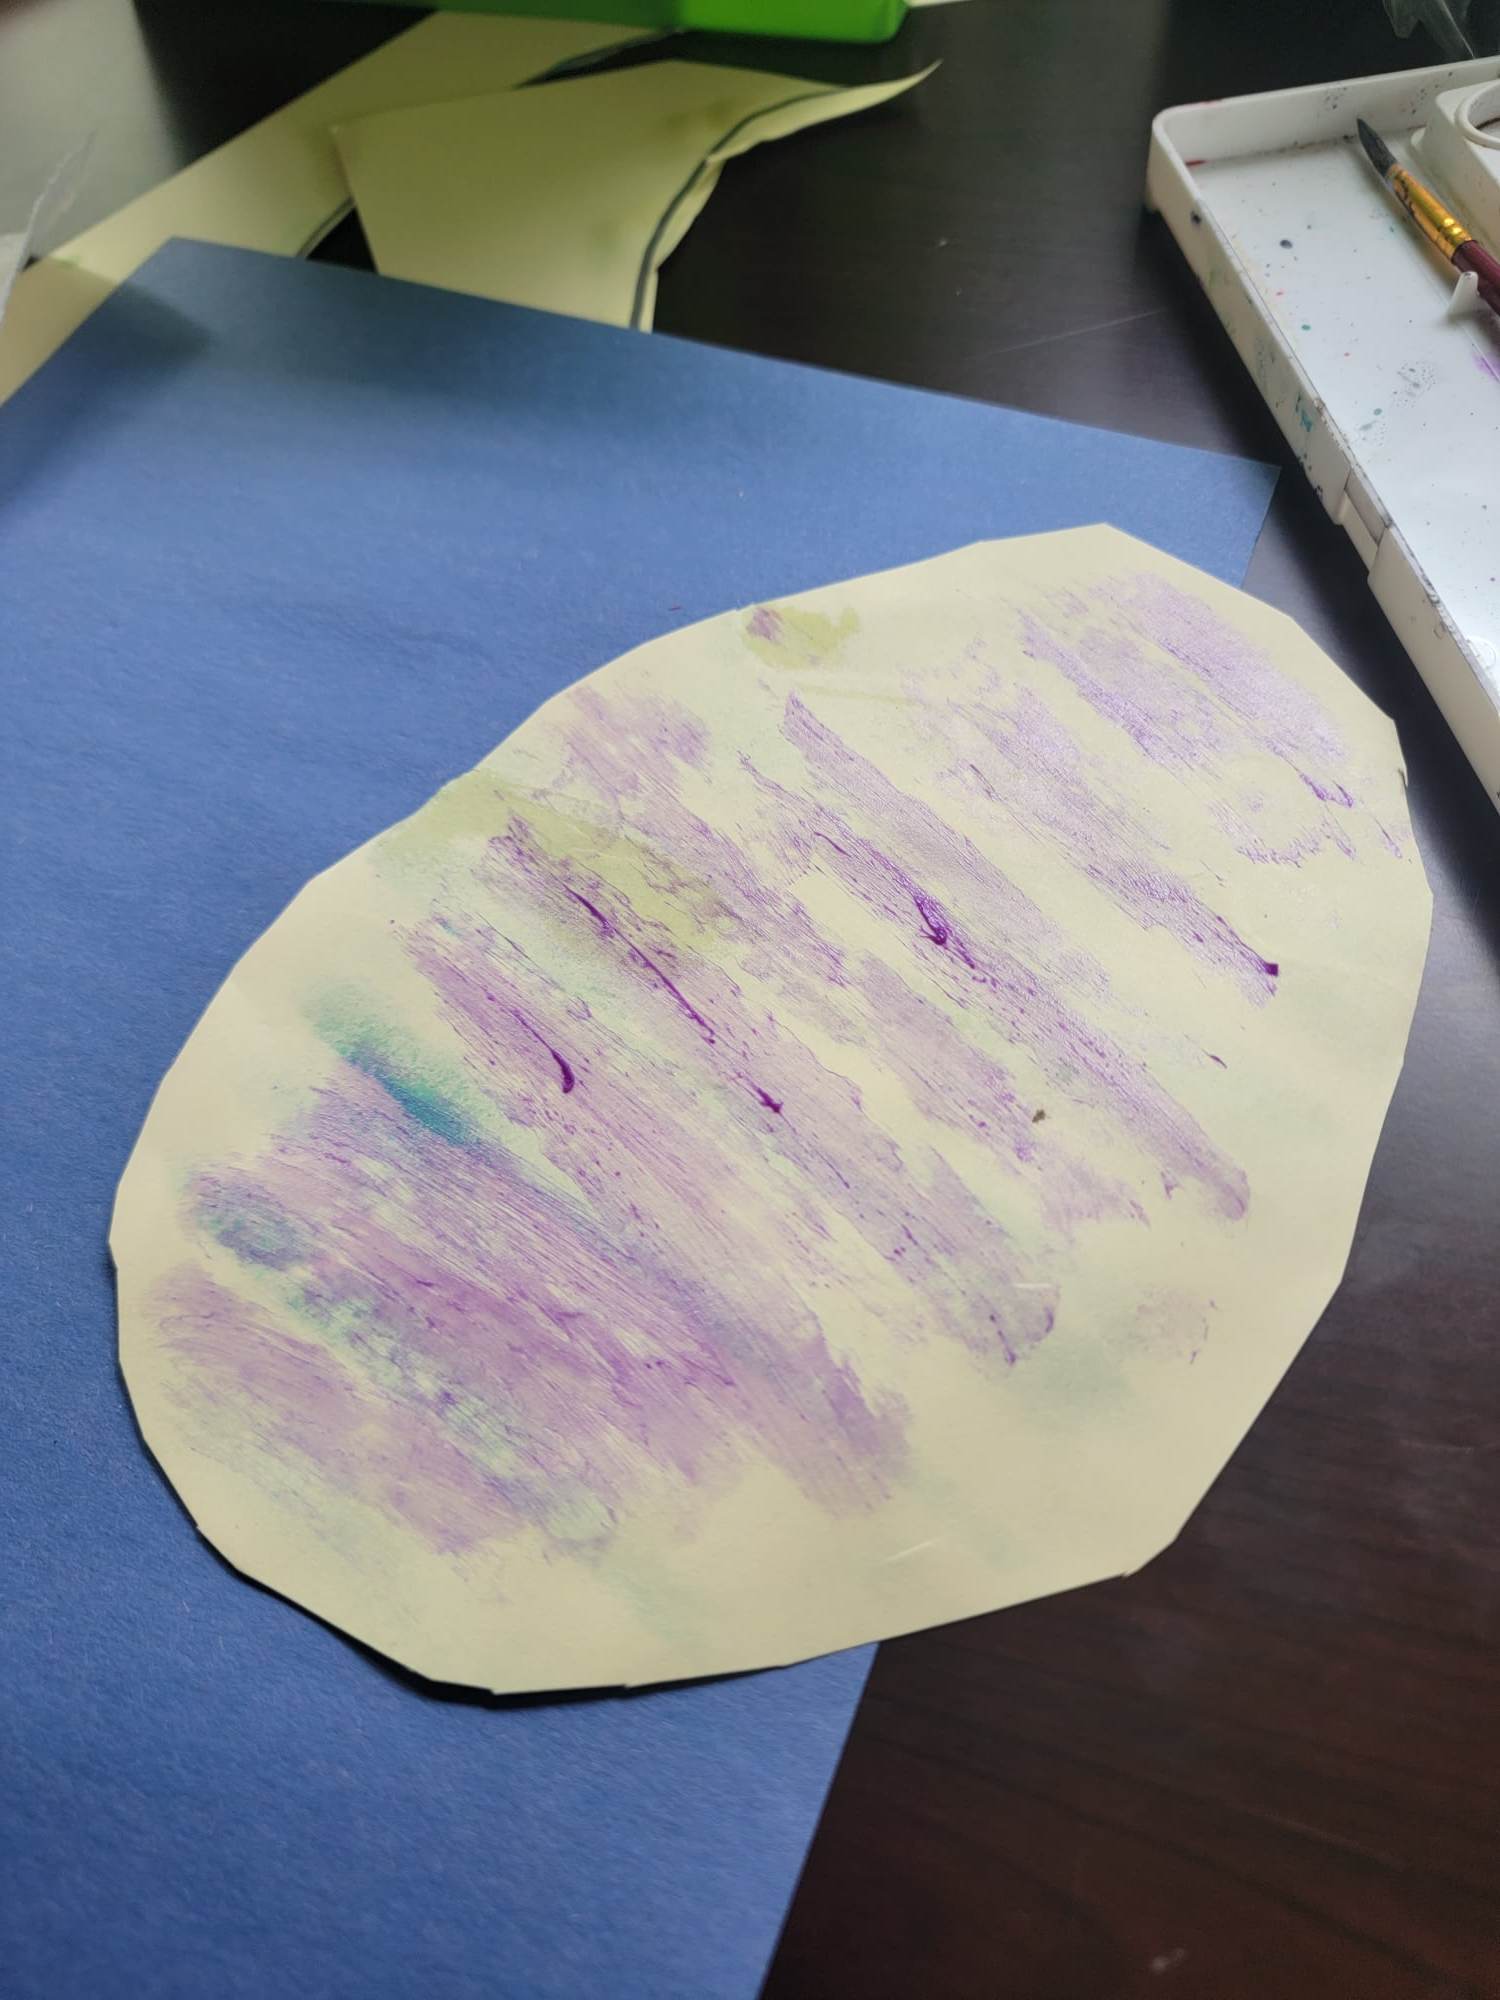
- Once you are done drawing with the white crayon, start going over your designs with your activated water colors, and watch the magic happen! Your designs will be "magically" revealed! | TIP: If you are painting over a drawn egg, don't worry about coloring outside the lines! You'll be cutting out the egg! If you are using a coloring sheet, you can fix mistakes with an eraser or white out if you like! (We are a messy family over here so we didn't worry about this part! )
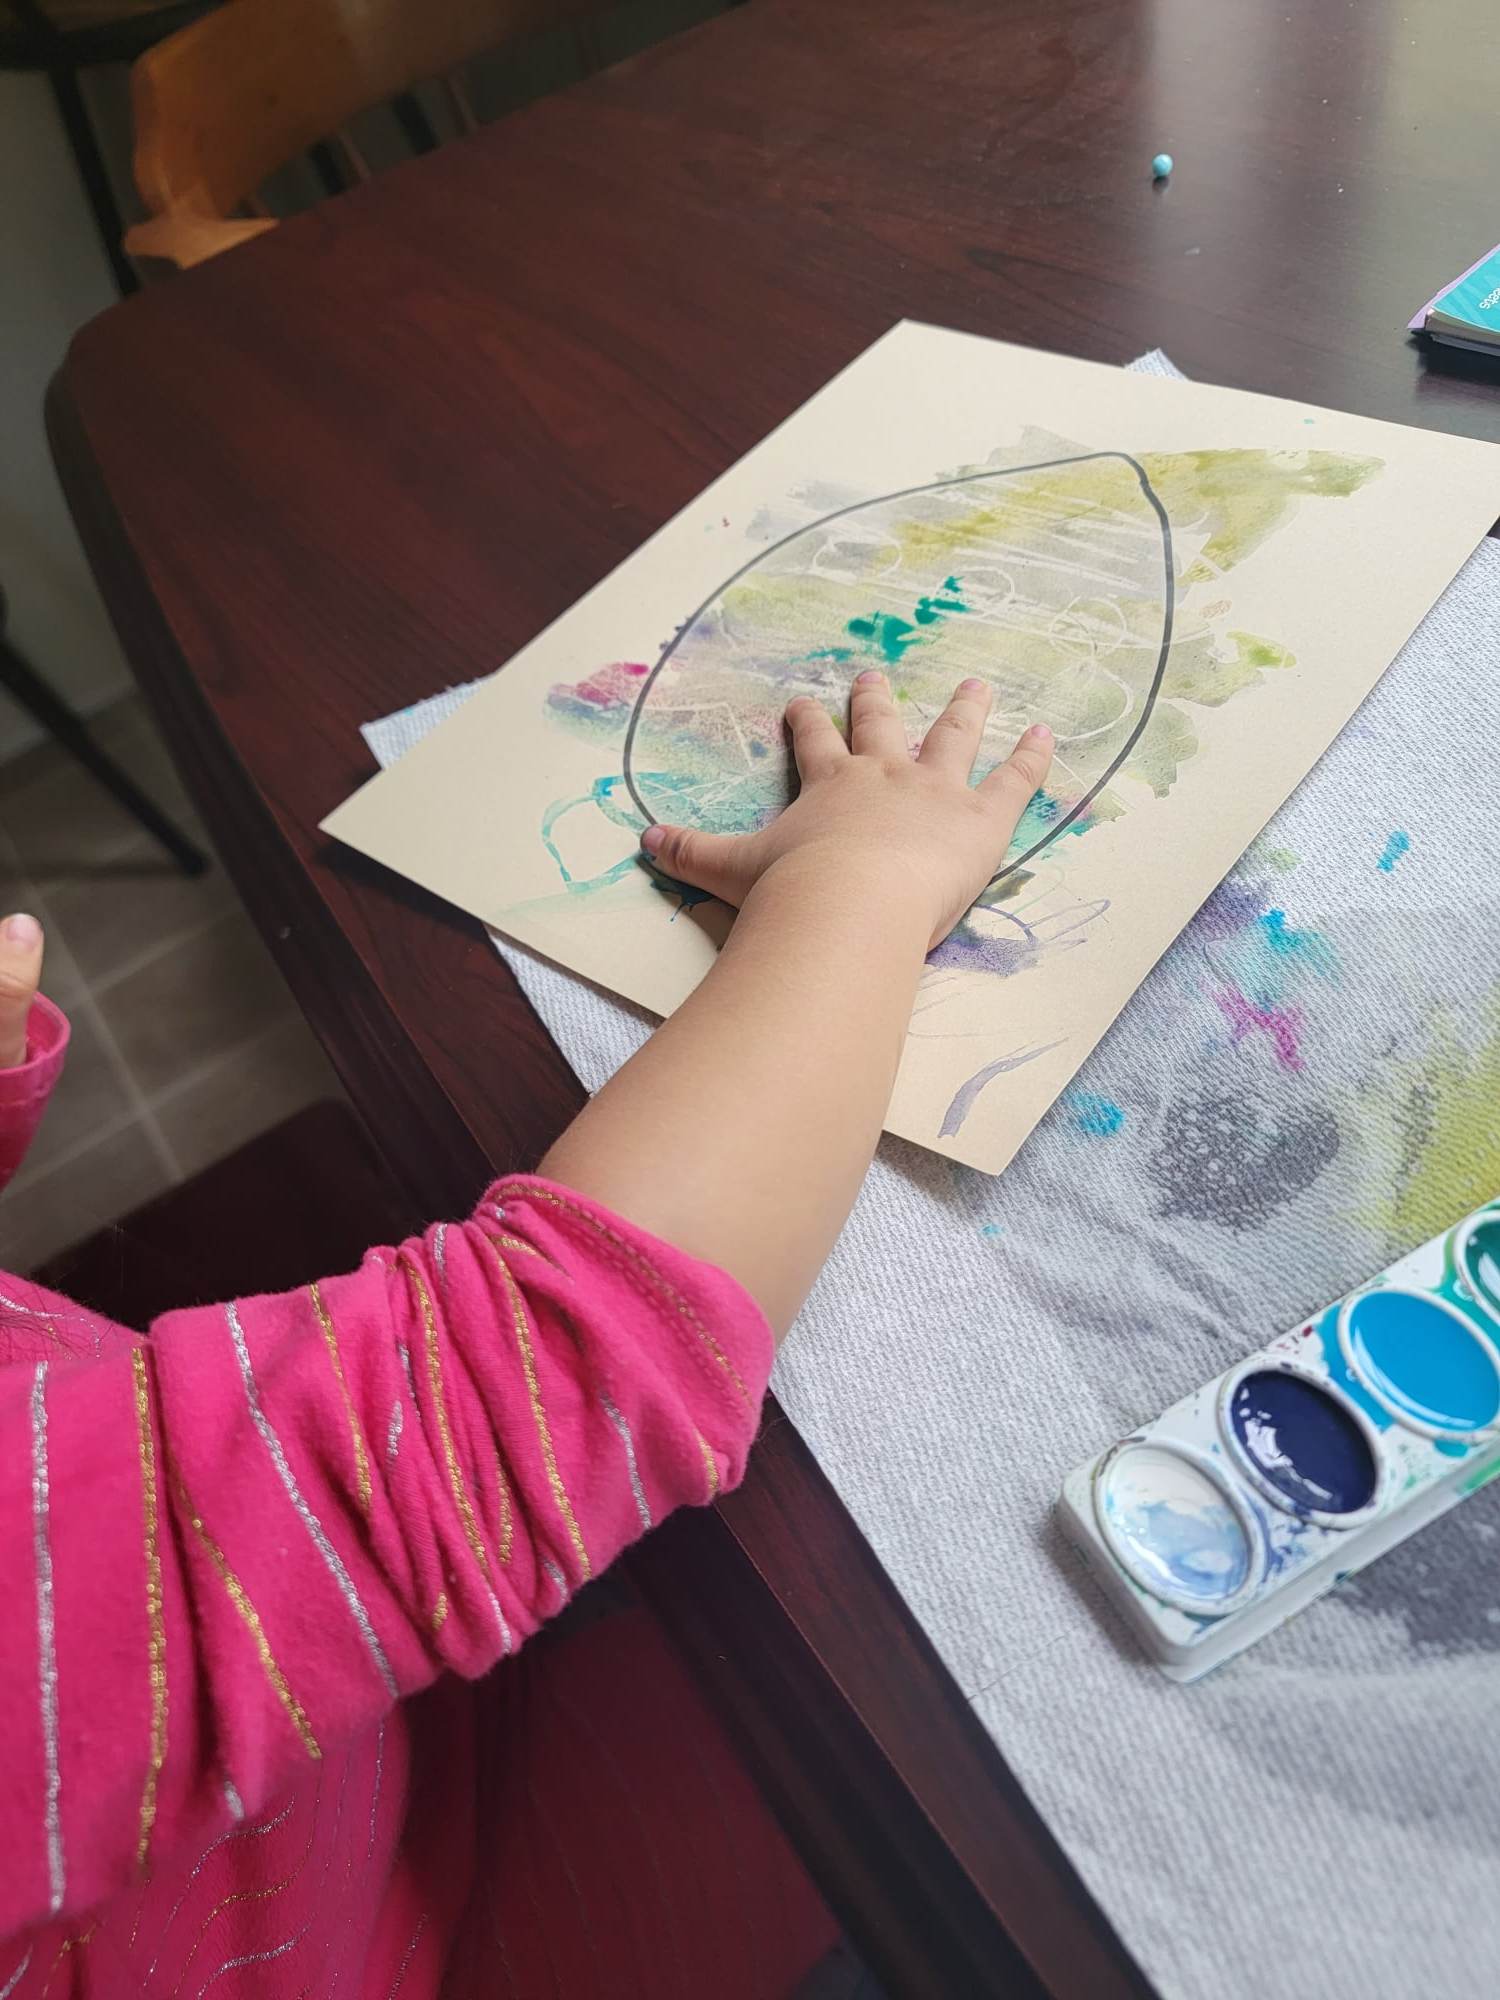
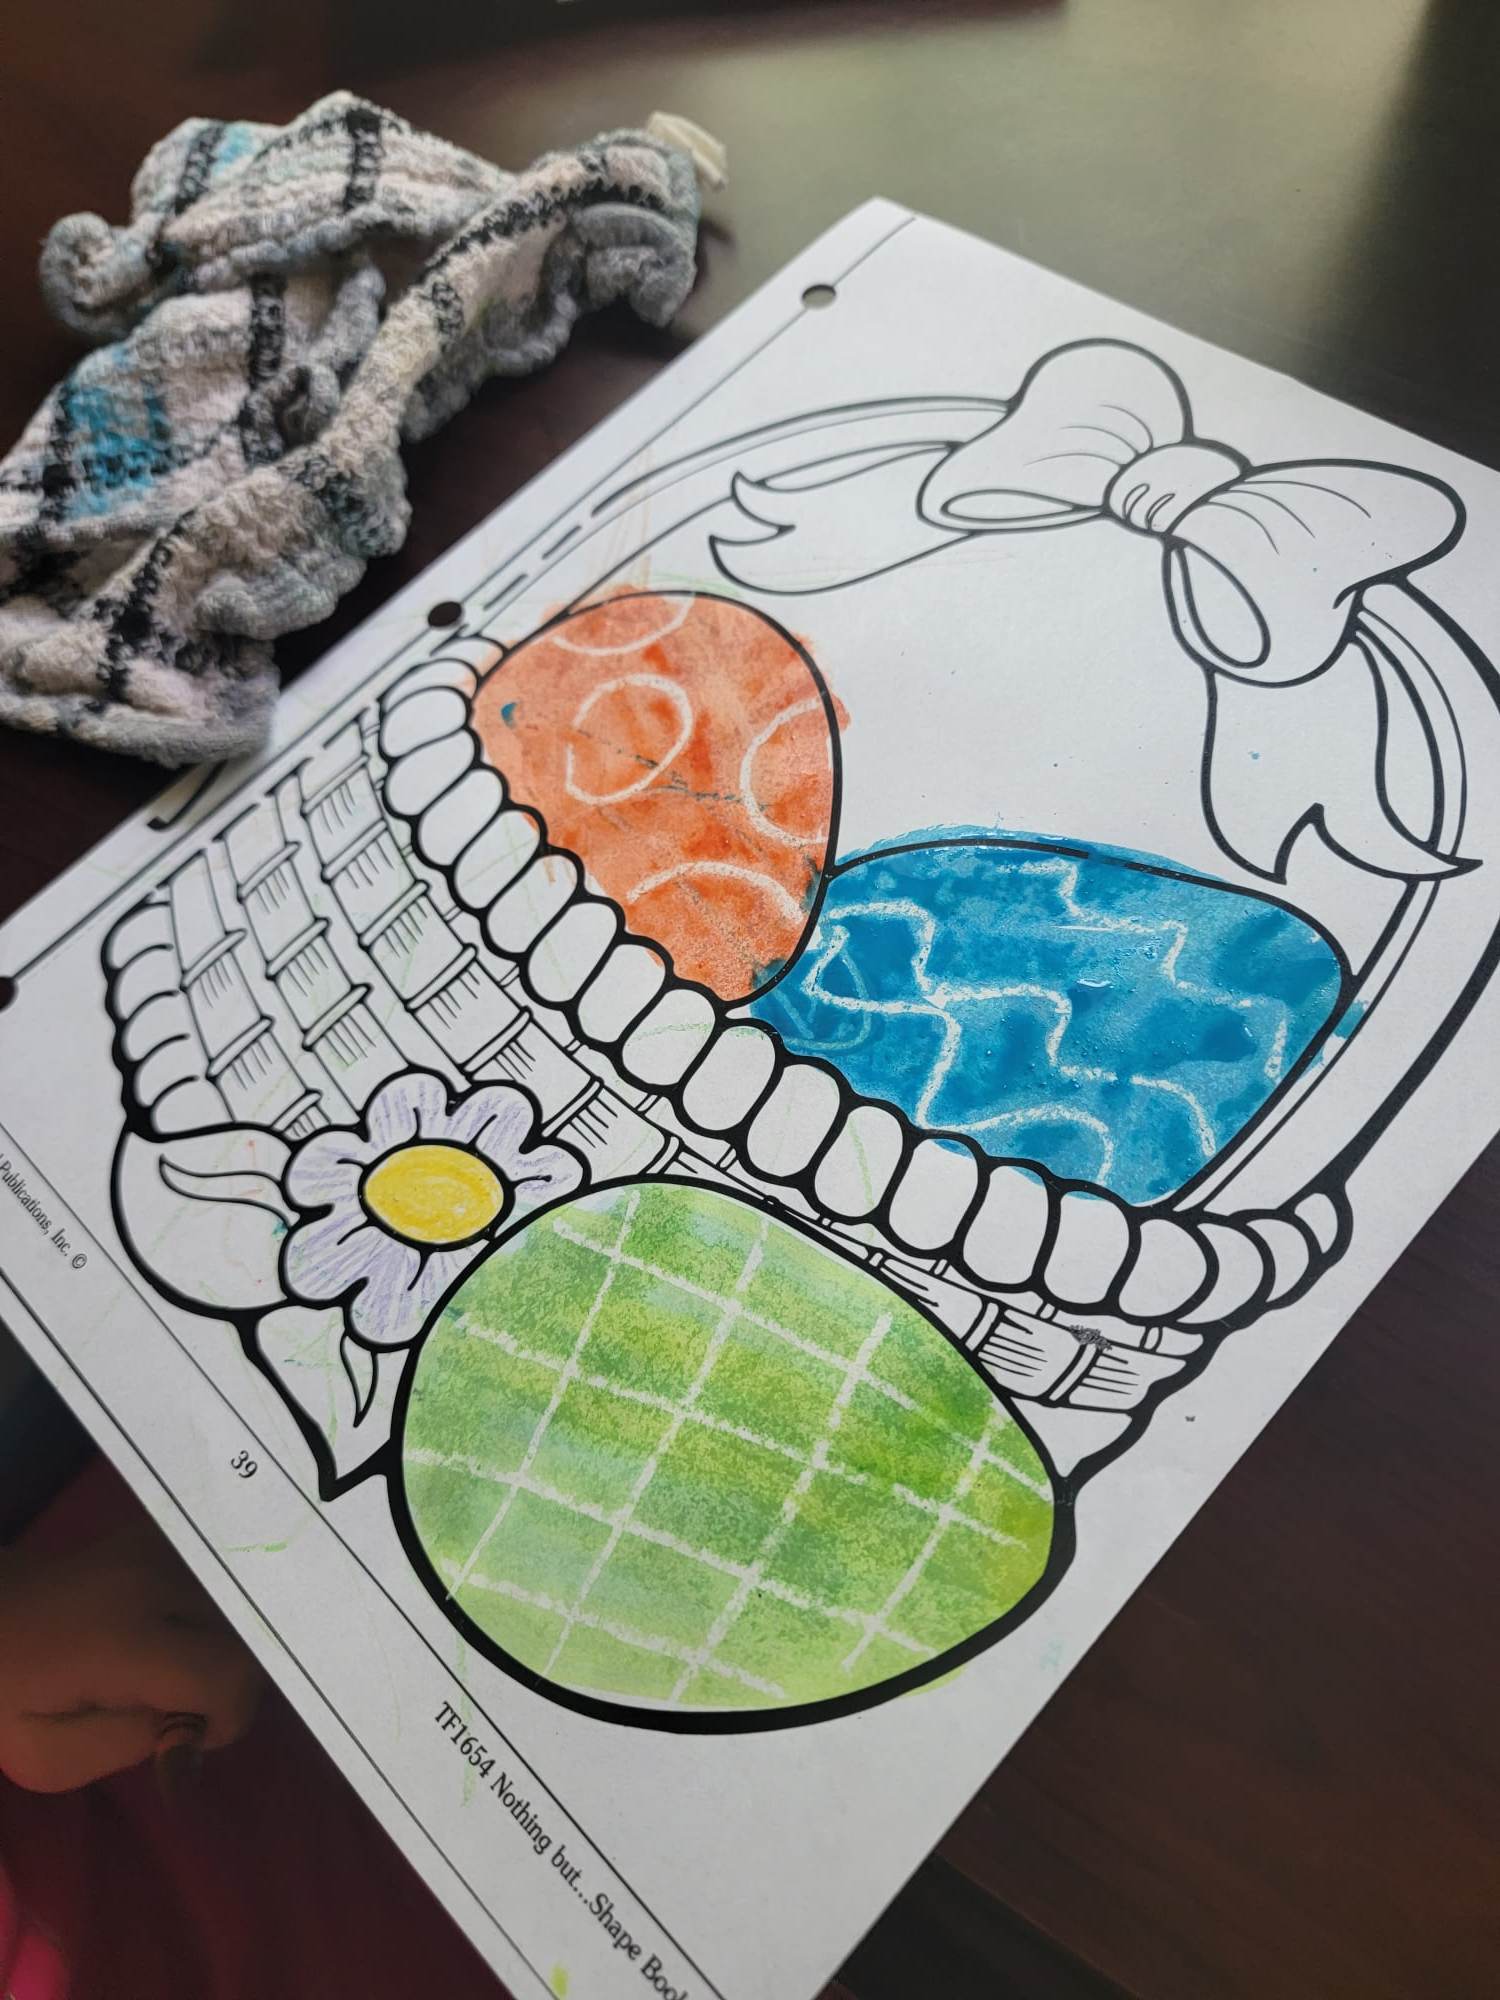
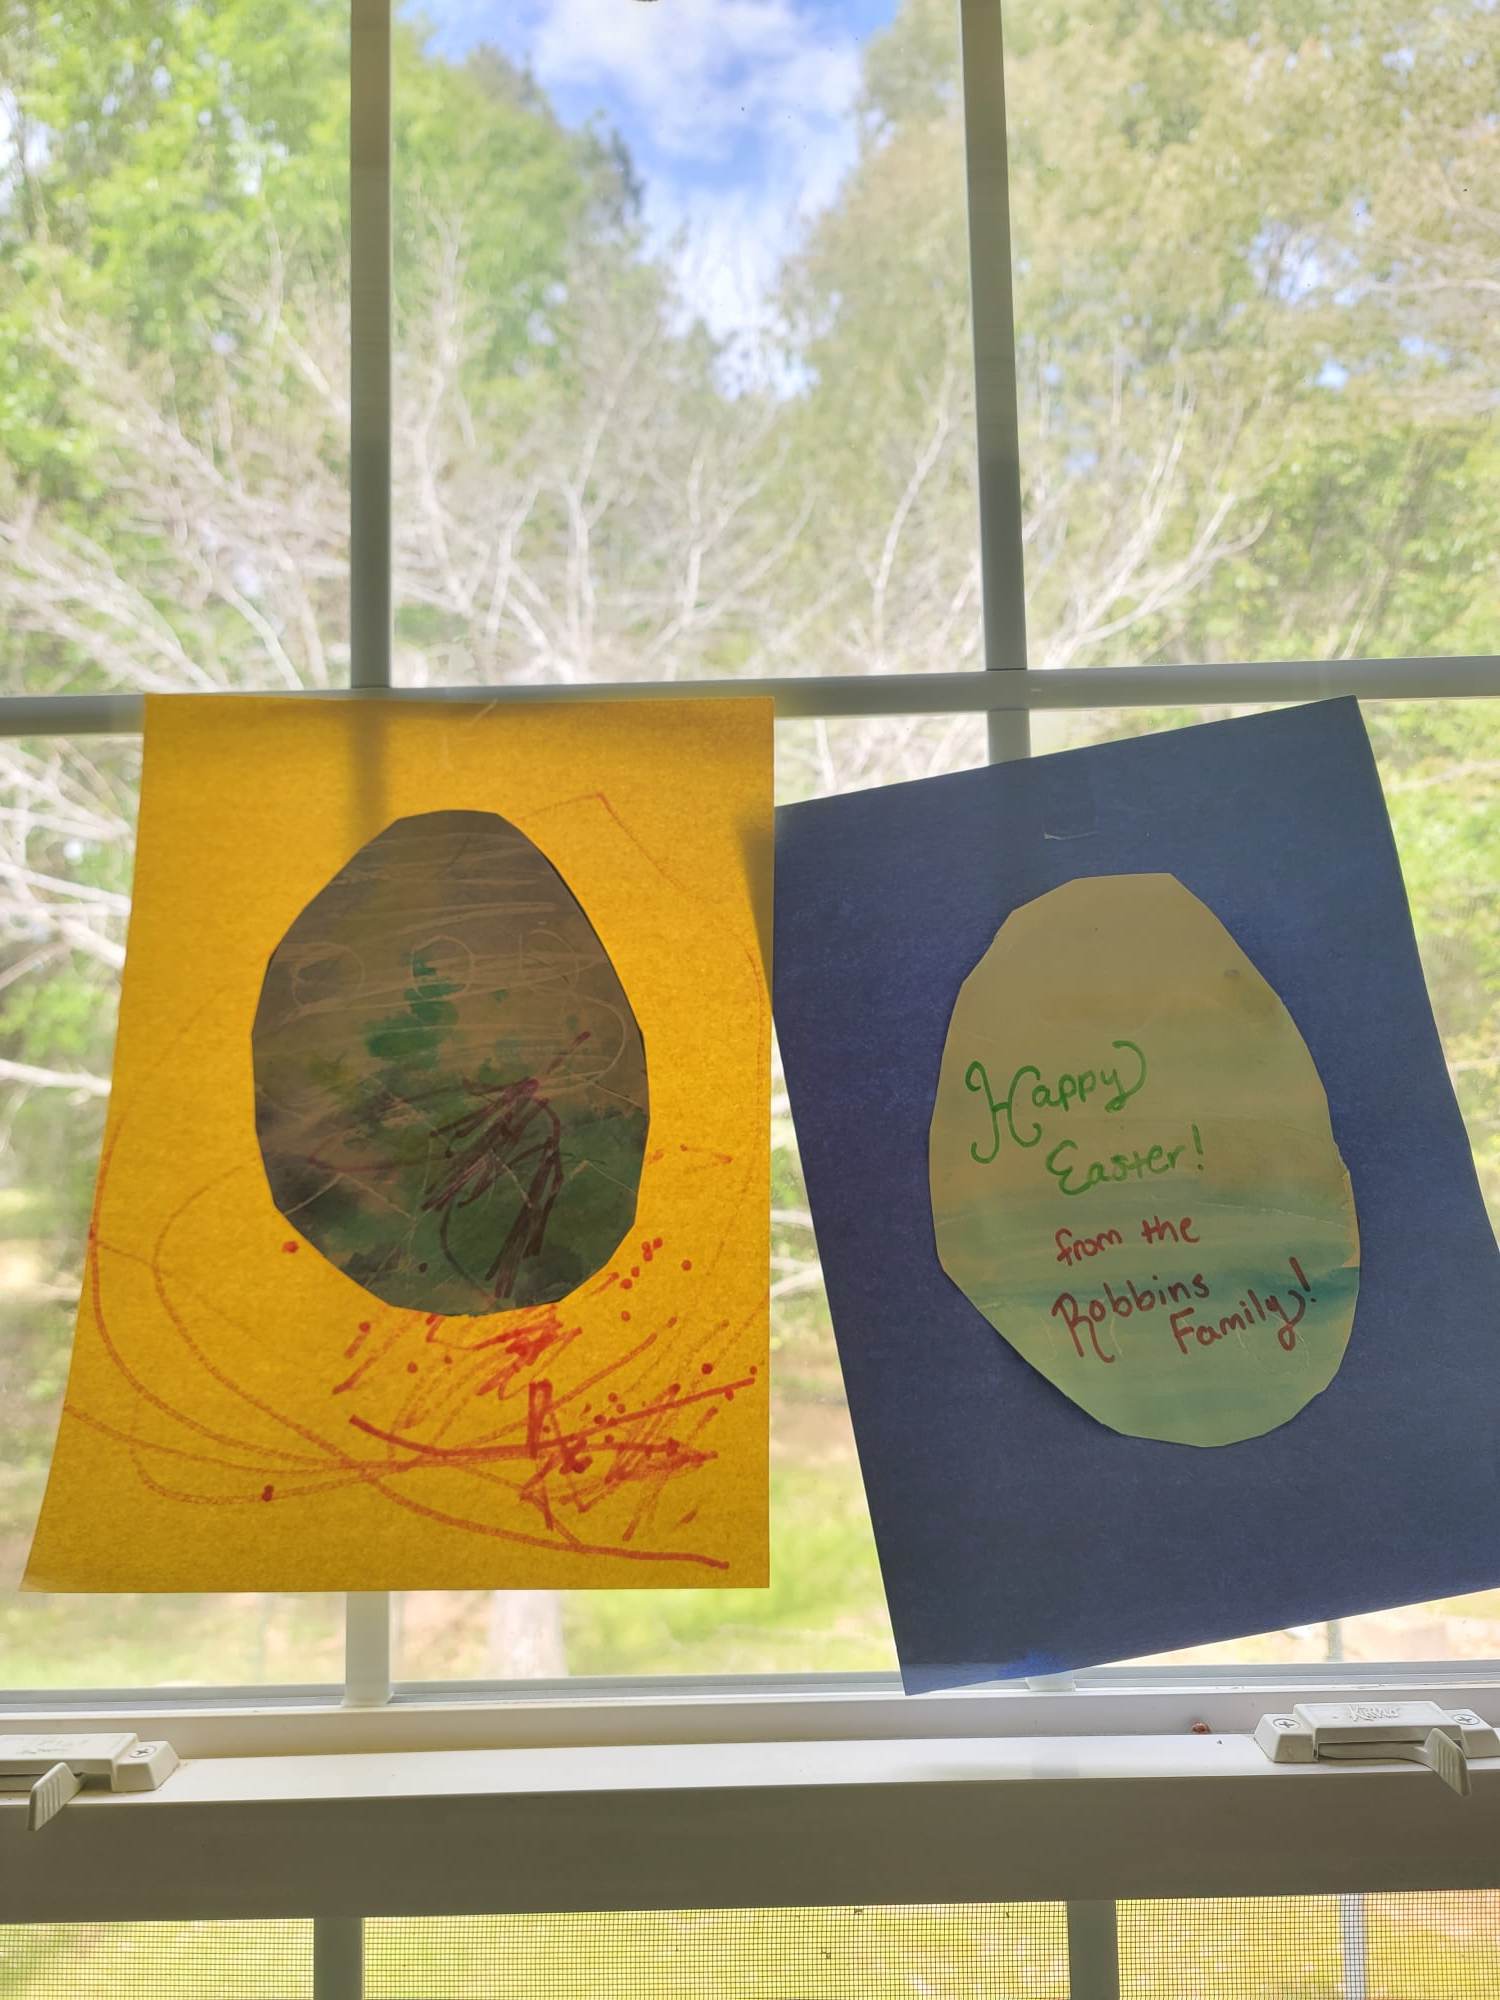
- If you are using a coloring sheet, congrats! You are finished! You can now display your artwork in a special place (Our art display area is the window above our homeschool station!) If you are doing the long version of this craft, move on to step 5!
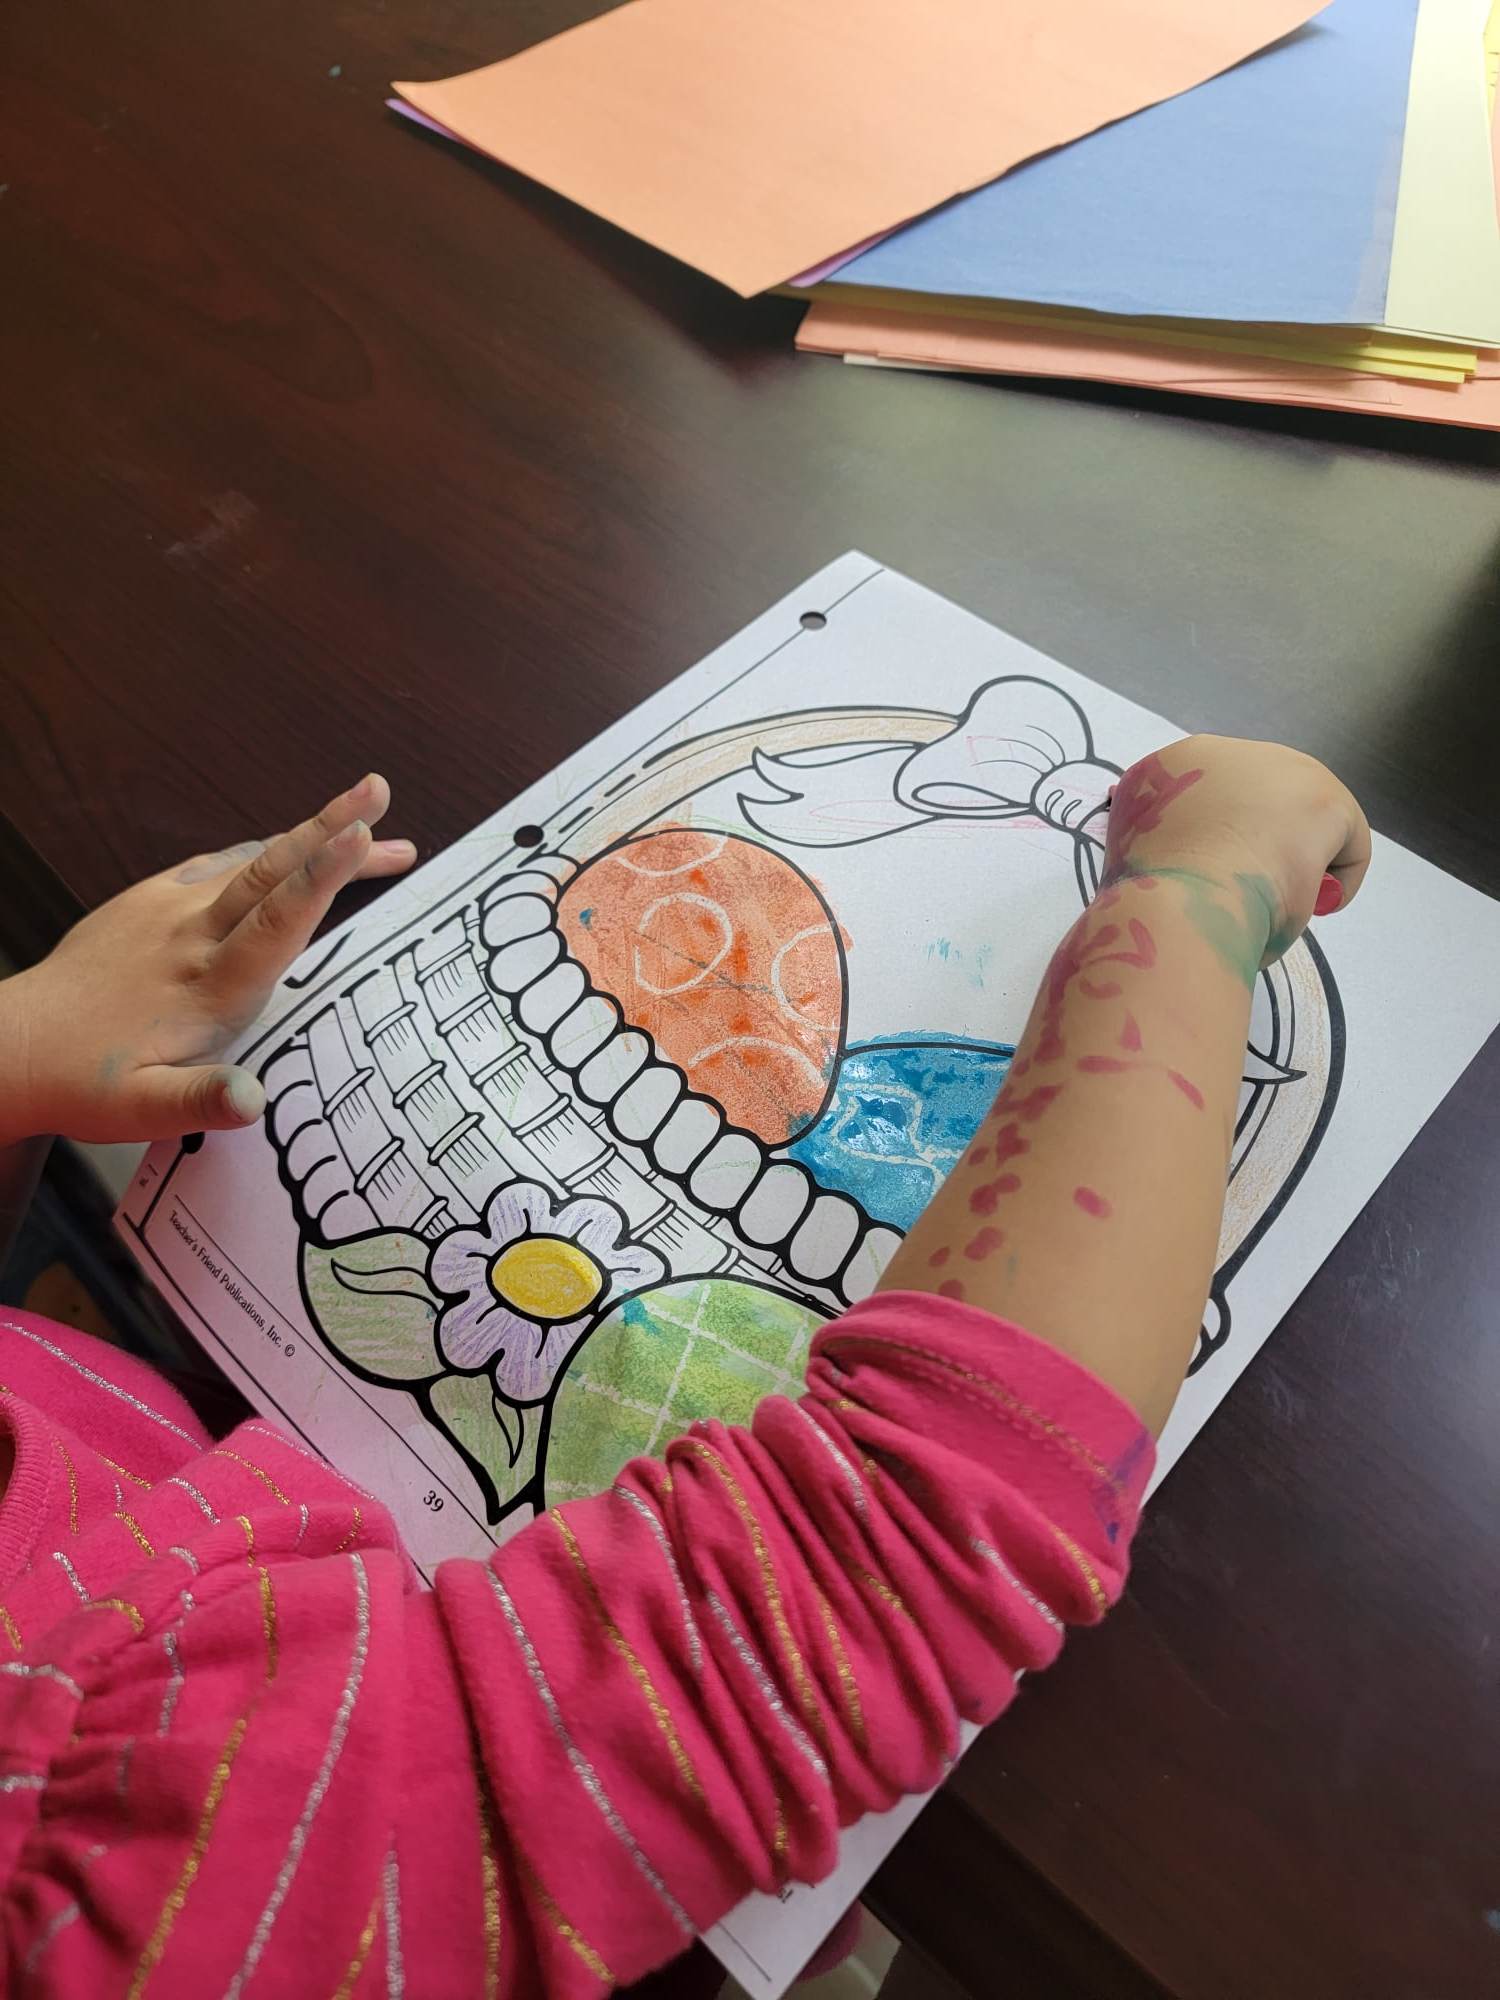
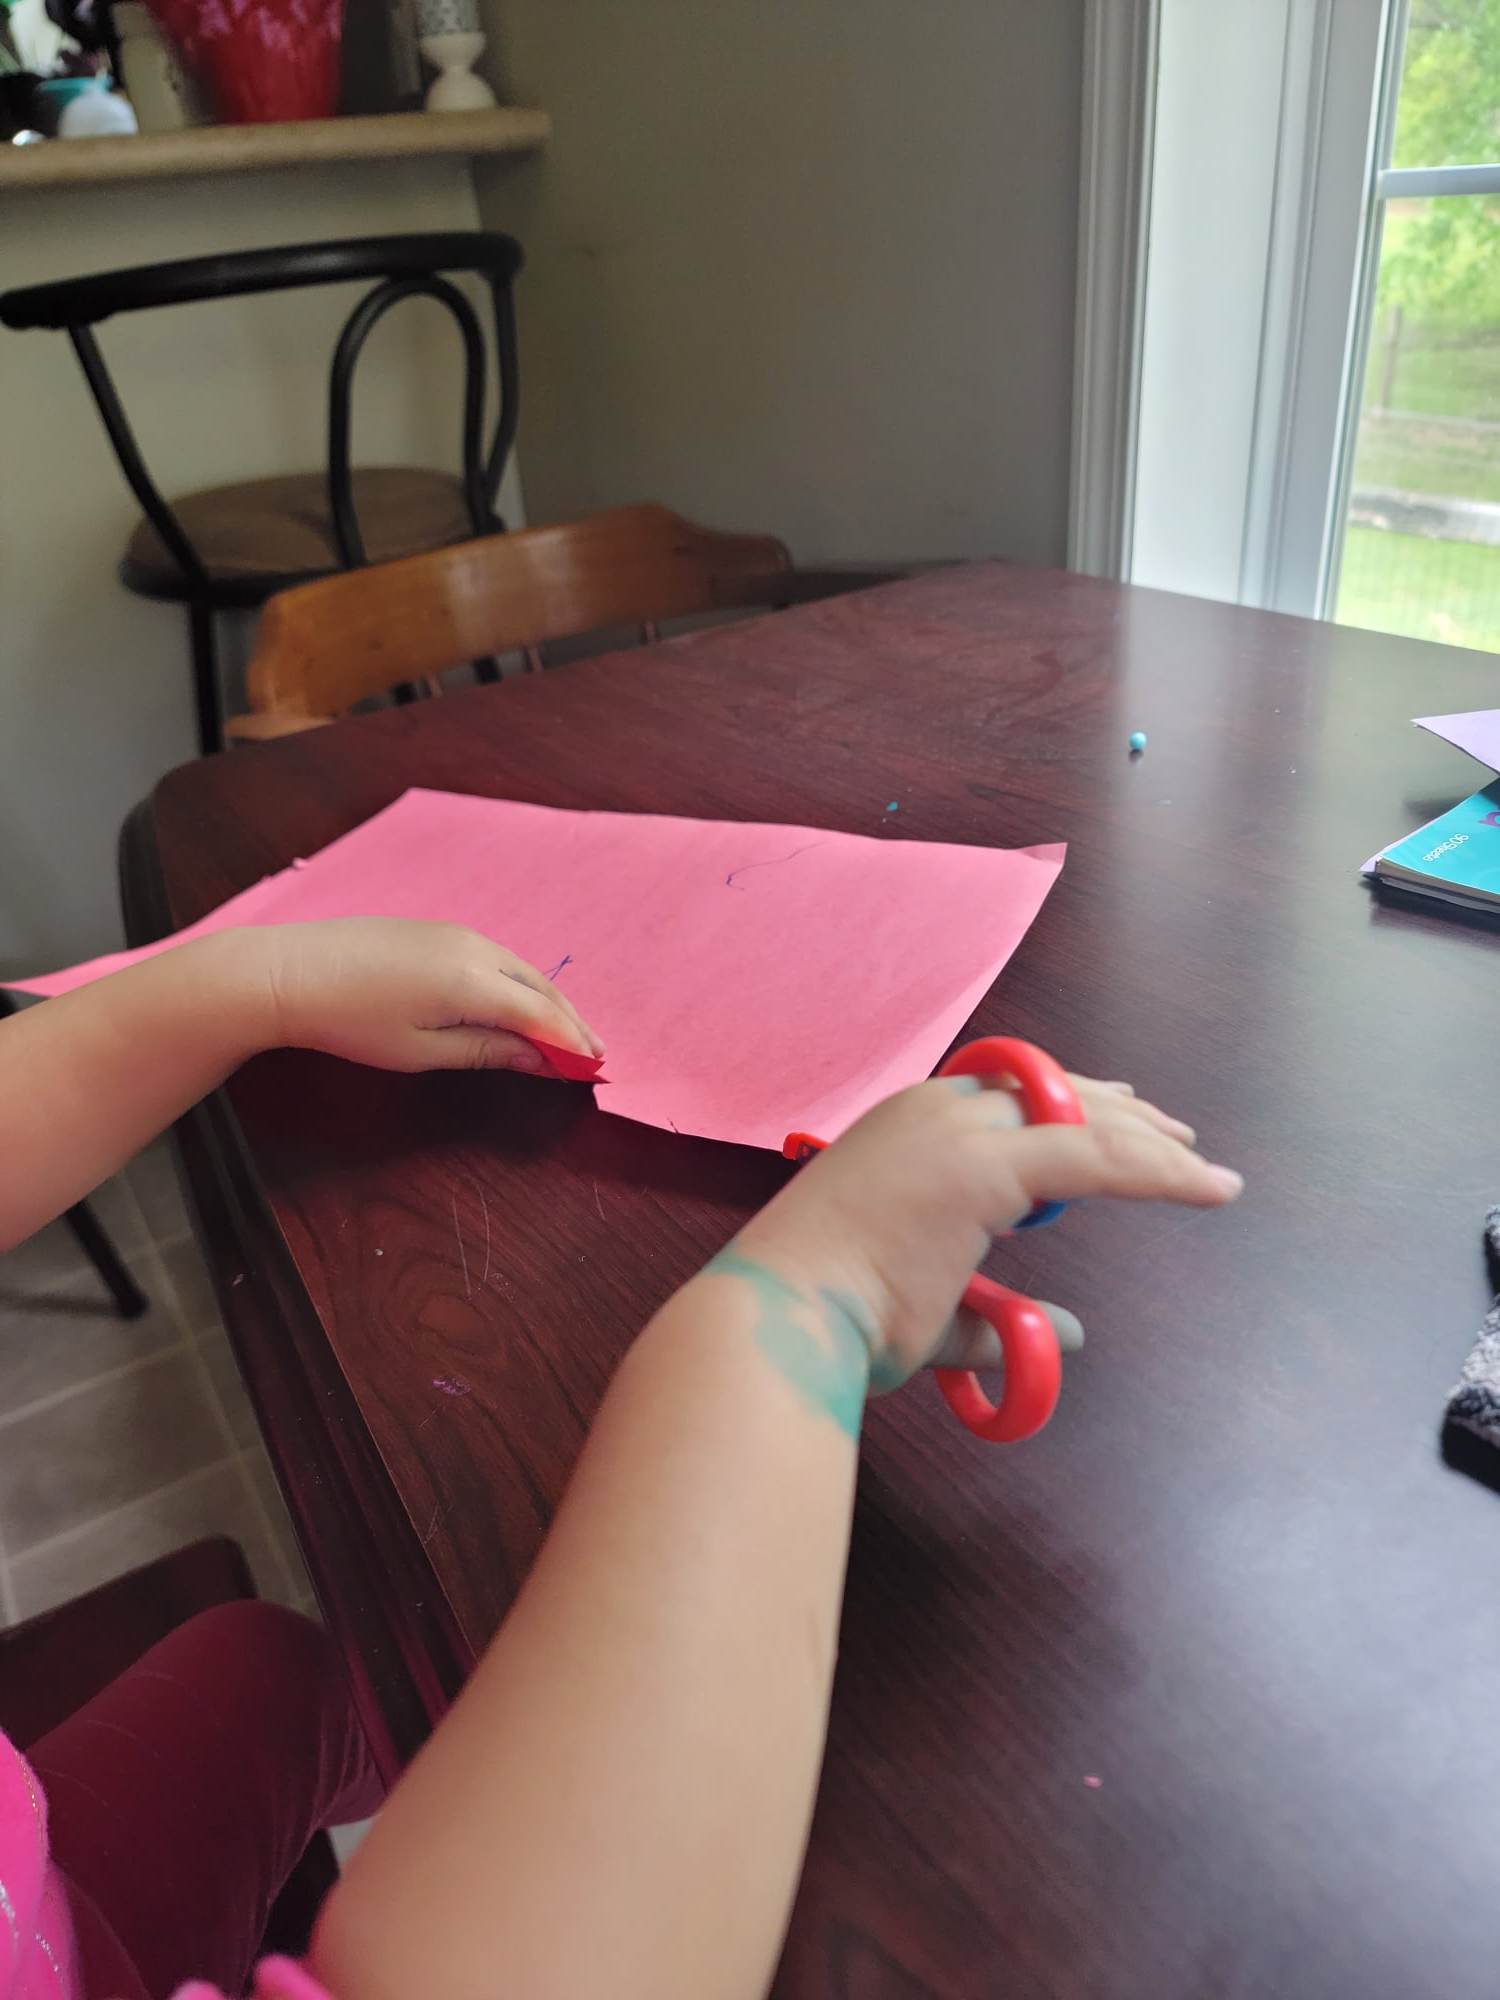
- Next, go ahead and start cutting out your egg! This was a great opportunity to teach my little one how to use safety scissors! She did fantastic, but she is a bit of a perfectionist so after she couldn't figure out how to cut the curves, she wanted to practice on some spare construction and had me finish cutting. (I'm NOT good at cutting- but shh don't tell her that, she still thinks I'm cool!
)
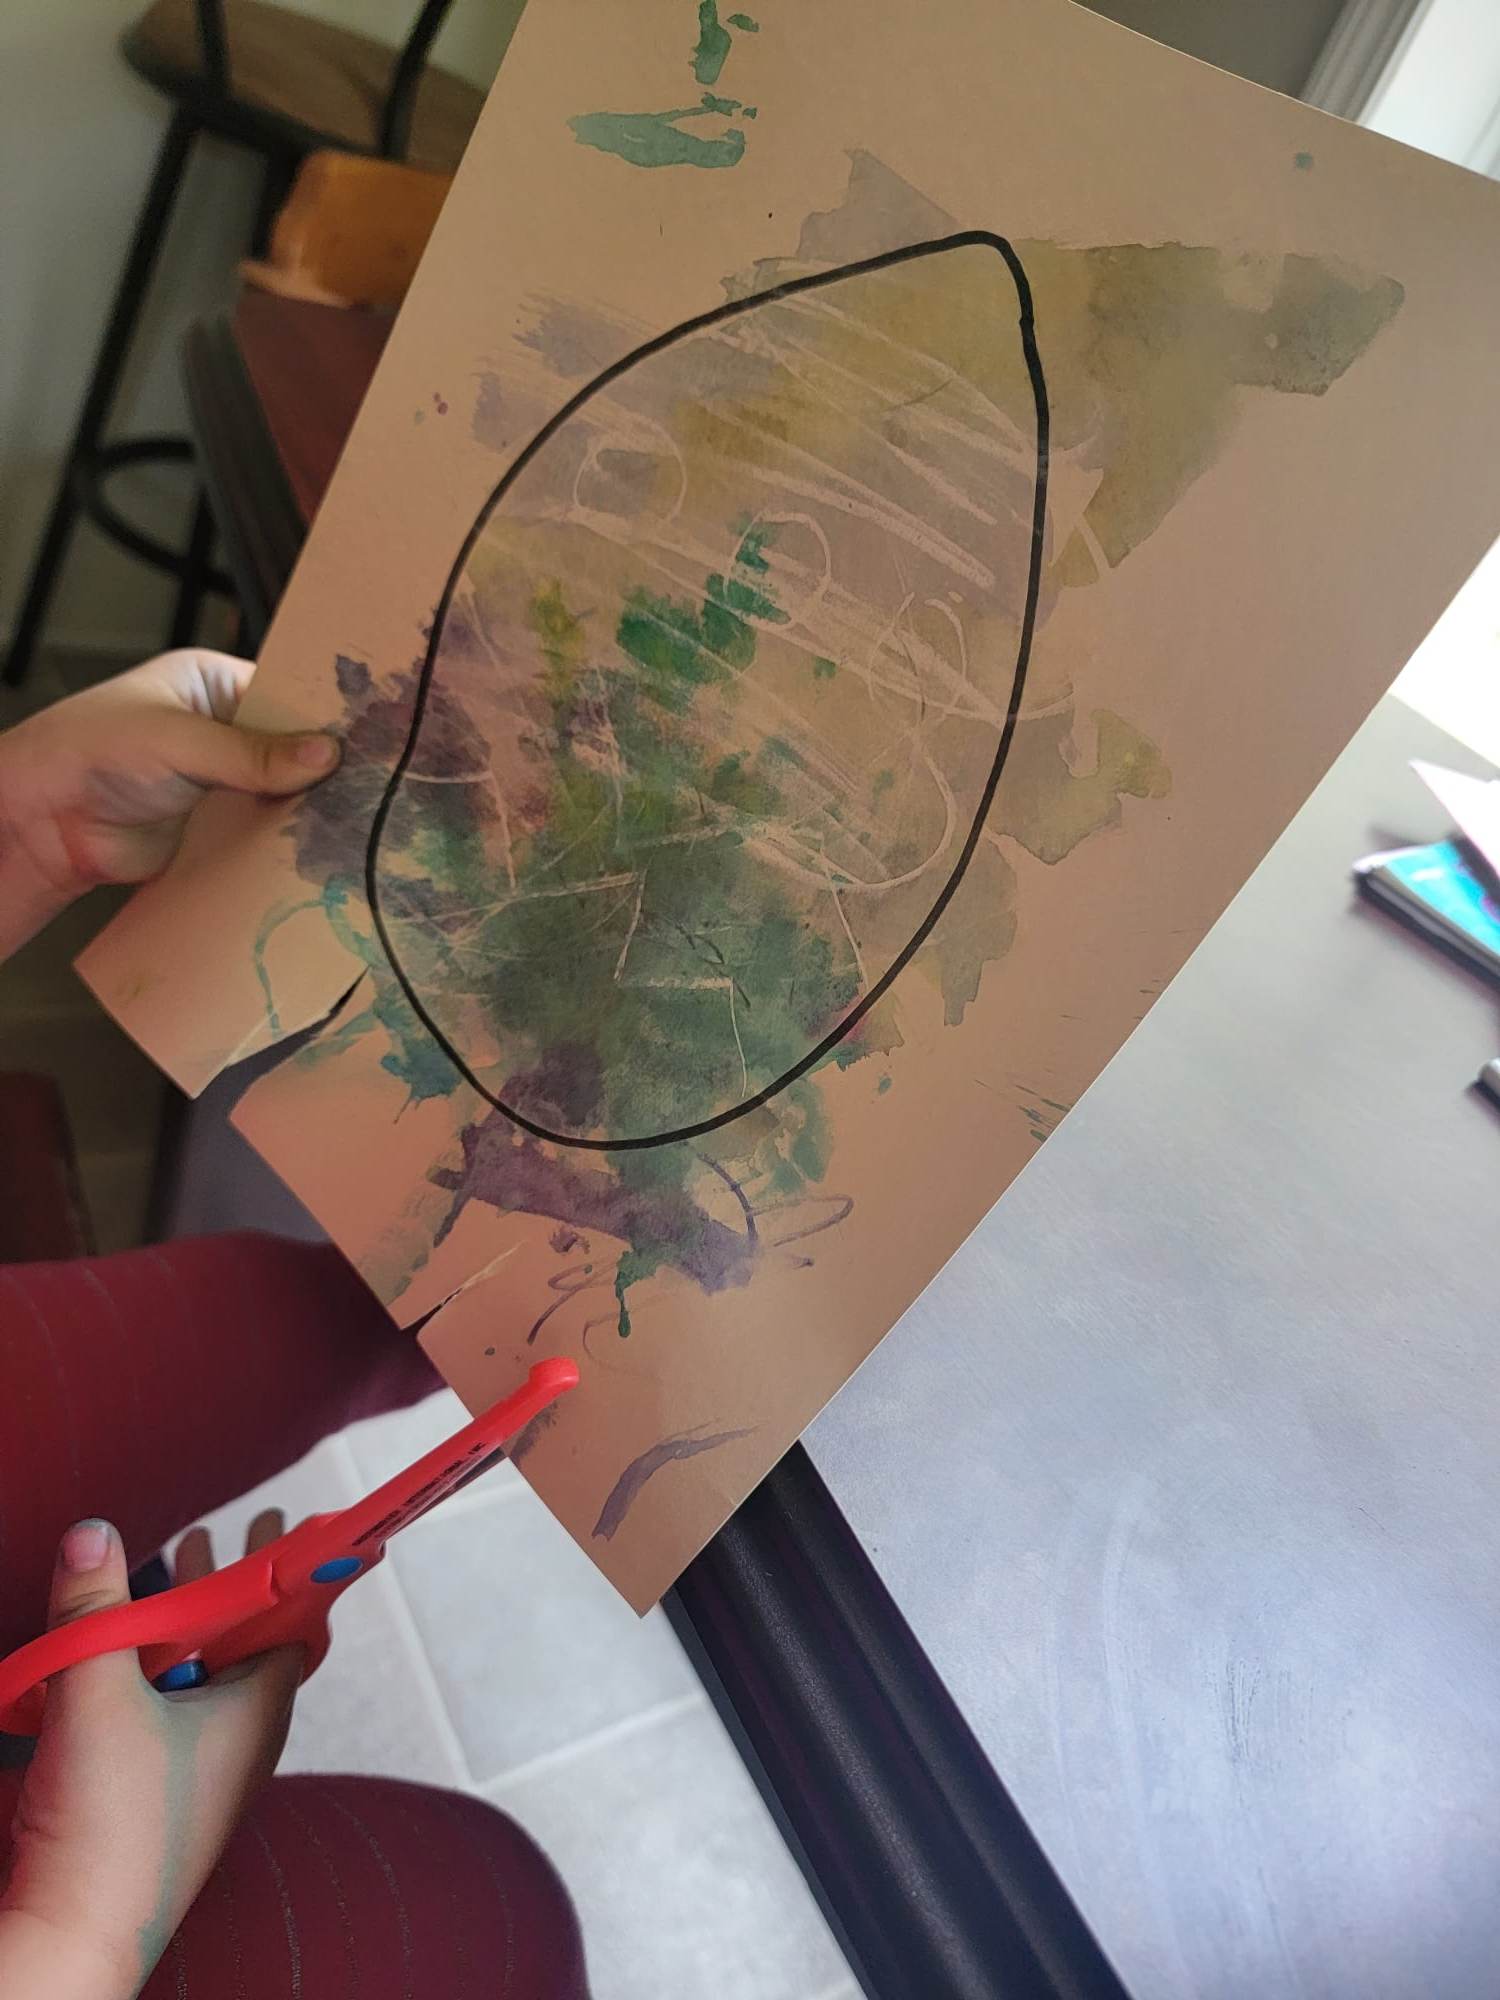
- Once your egg is cut out, glue it on top of your favorite color construction paper! To make this age appropriate for my 2 year old, we used a glue stick, but use any glue you have on hand!
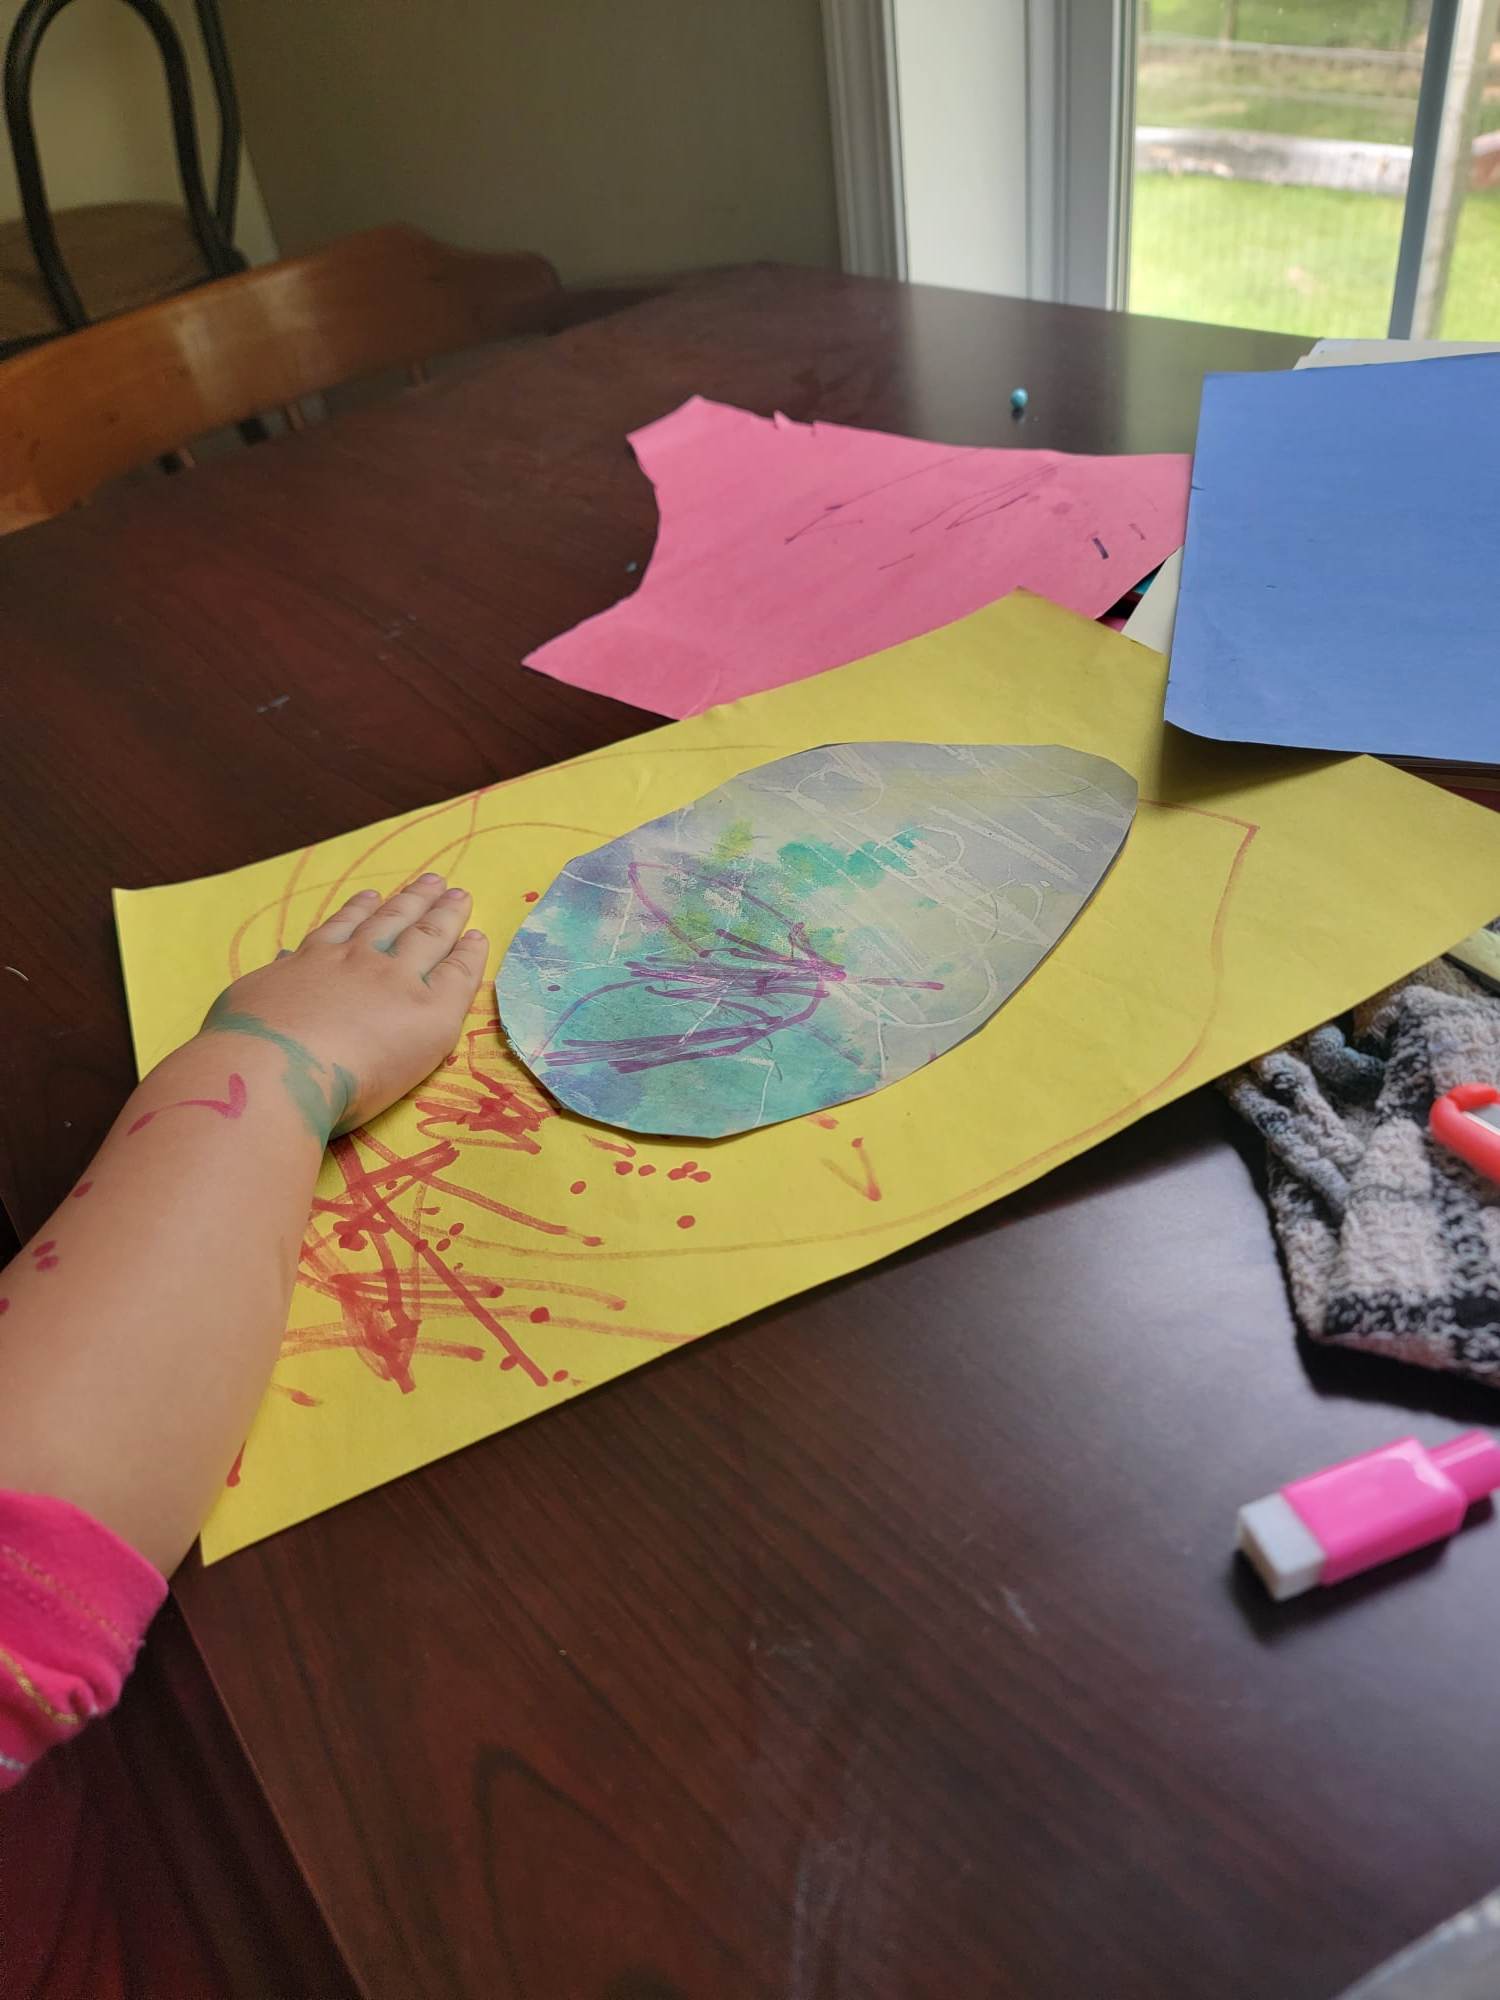
- You can finish there, but we wanted to go over our eggs with markers to add a little "pazazz"! Once you are done, place your eggs on display to enjoy!
 |
And.....That's it! You're done! With these super easy steps, you'll be creating fun eggs with your kiddos!
I hope you have fun creating these funky eggs! If you do them and enjoy them, make sure to upload pics of them on Facebook and tag our page so we can see your designs! I'll be doing an article after Easter of all the fun Easter Egg Hunts, Easter Crafts, and Spring Events that happened in our local community this Spring 2023 and would love to include your egg designs! If you liked this article and want to read more, make sure to subscribe to our to our page! We send out FREE e-newsletters EVERY Thursday Mornings with all of our latest articles, guides, and local events!
 |  |  |
 |  |  |


